3.8 KiB
Collection of Tri-Zero Skirts
This is a Collection of skirts for the try-zero with some additional features.
Right now, there are 2 variations for the skirts and one common rear and common fan mounts. To start with the rear ..
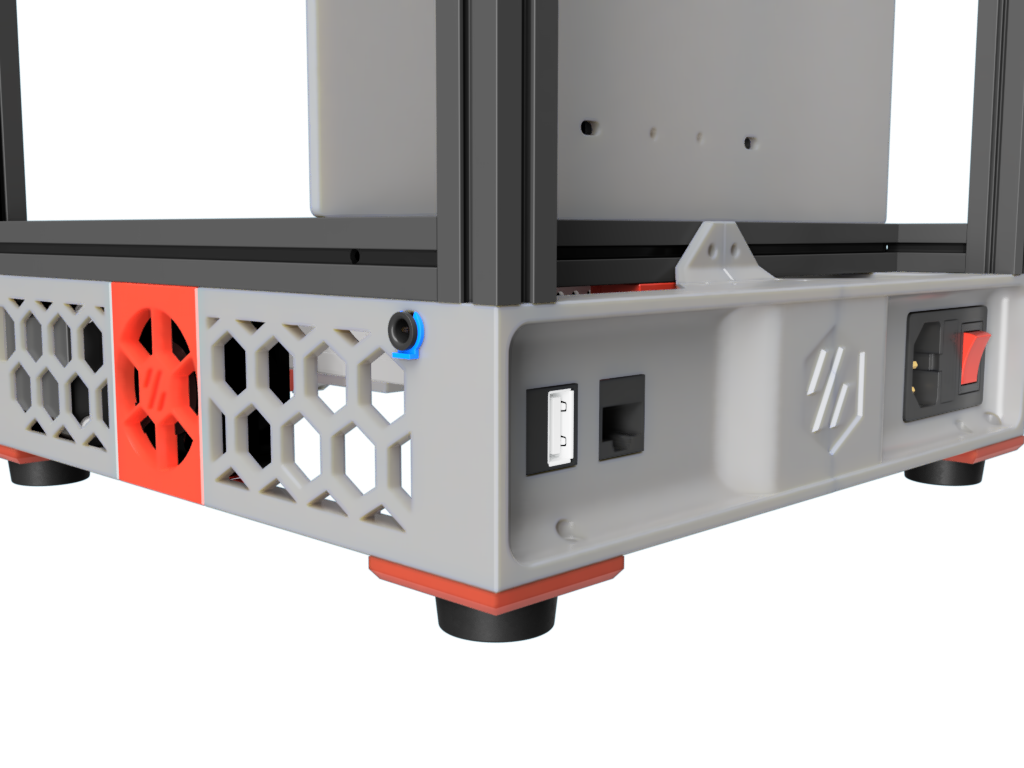
Rear Skirts
The rear skirts match all the different front skirts and have the following features
- integrated power inlet mount. To be used with the "standard" v0 power inlet
- 2 keystone mount points to get access to the raspberry pi ports
- Bowden clip mount point. Designed for the E3D style bowden clips. This allows to push the filament and not the tube from the outside. Read for the ERCF :)
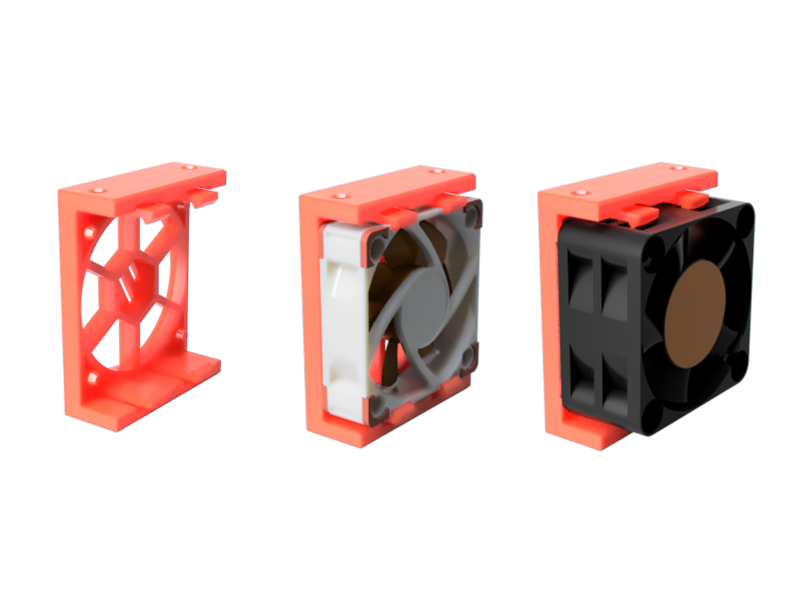
Fan Mounts
Option: The fan mounts have clips to hold 40x10mm or 40x20mm fans. If you go with a 20mm fan make sure to order one with a central rib, like the fans from creality.
Skirt Options
The front skirts are designed for Nema 17 motors up to a max size of 39 mm in length.
Note that there are two front covers for the GT2 pulleys. One for NEMA's with a shaft of 20mm and one for NEMA's with a 24 mm shaft.
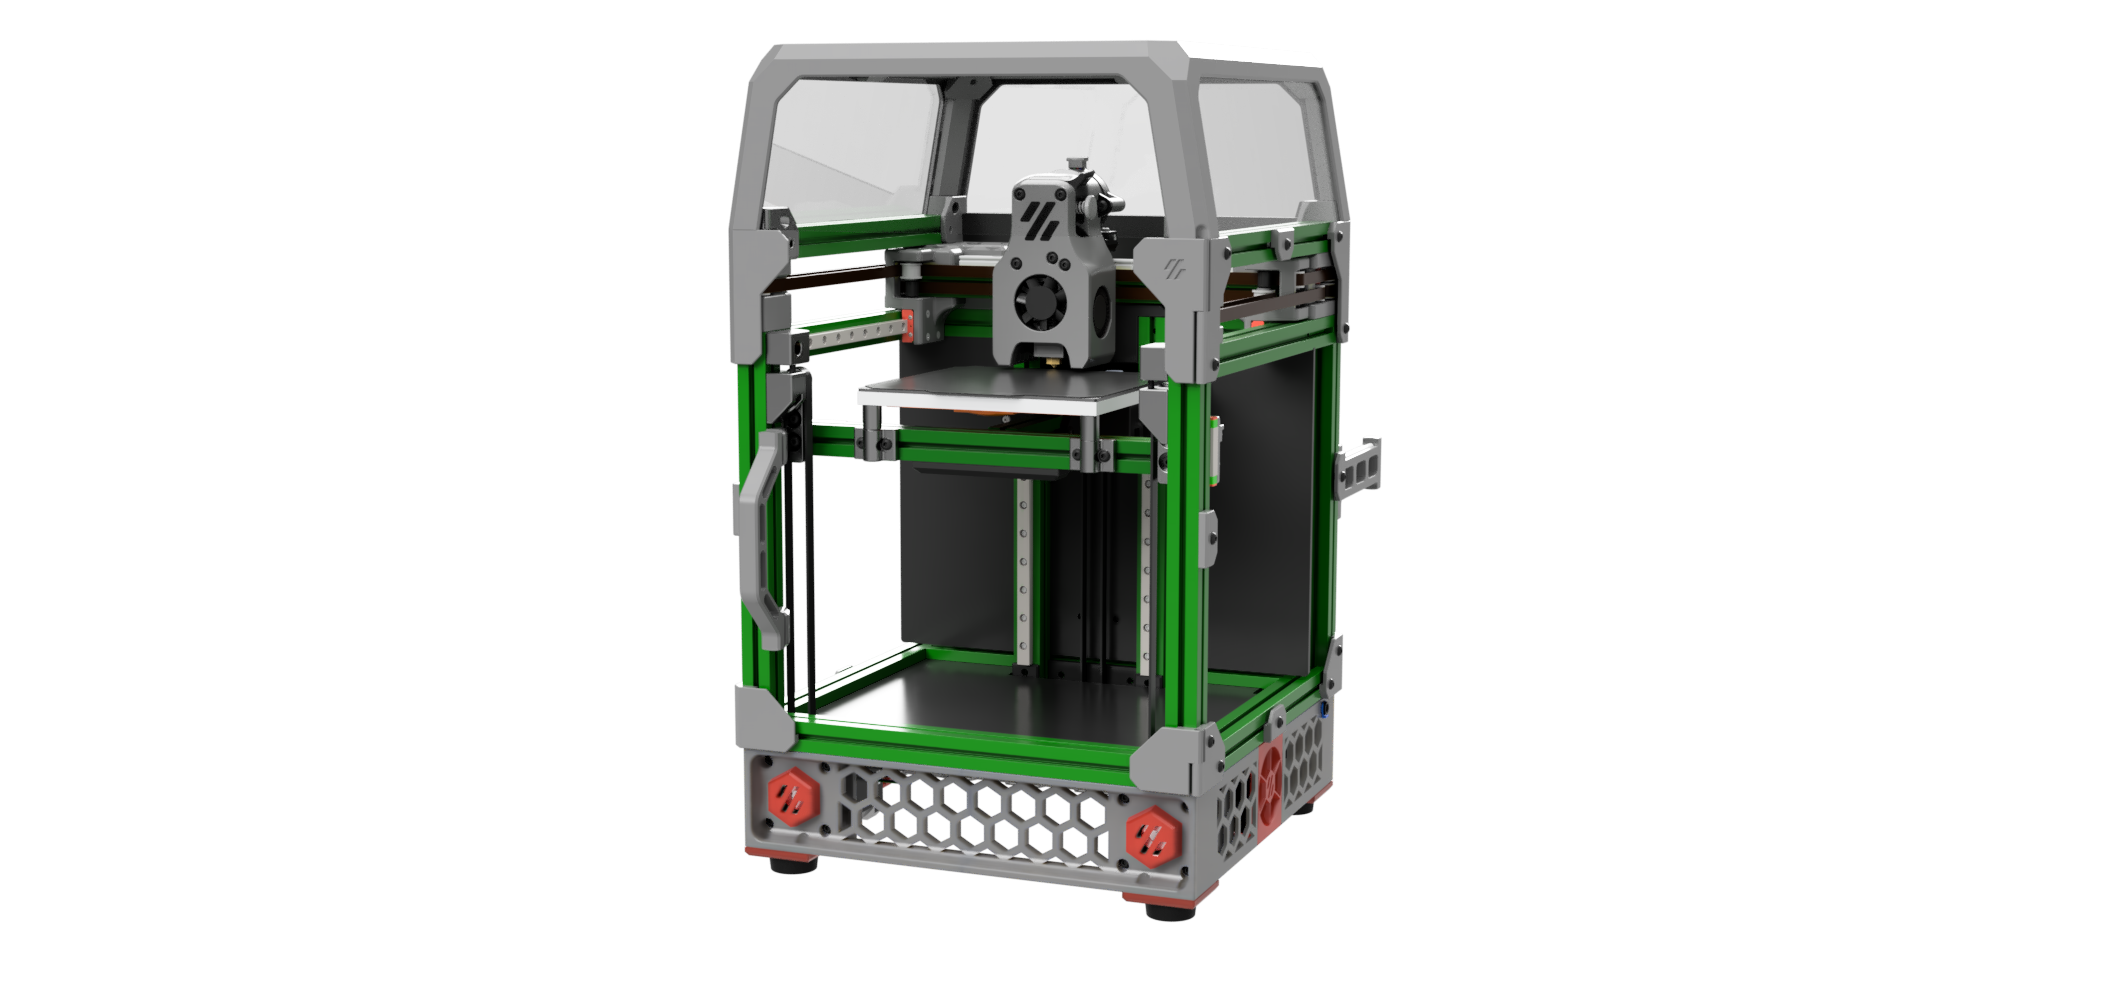
1. Headless
This version is intended for users that like to run the tri-zero in headless mode i.e. without display
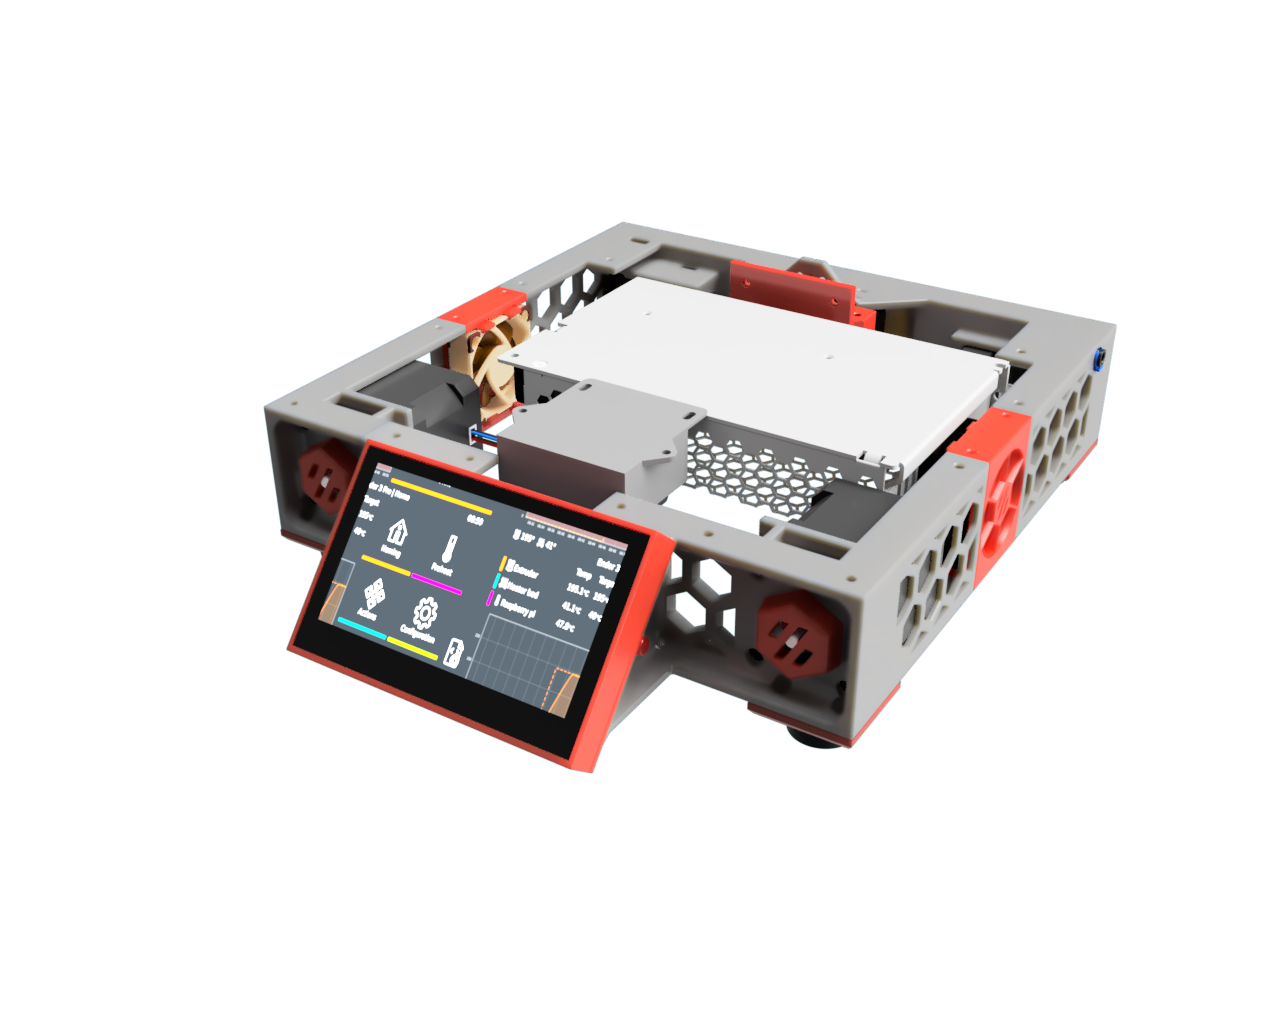
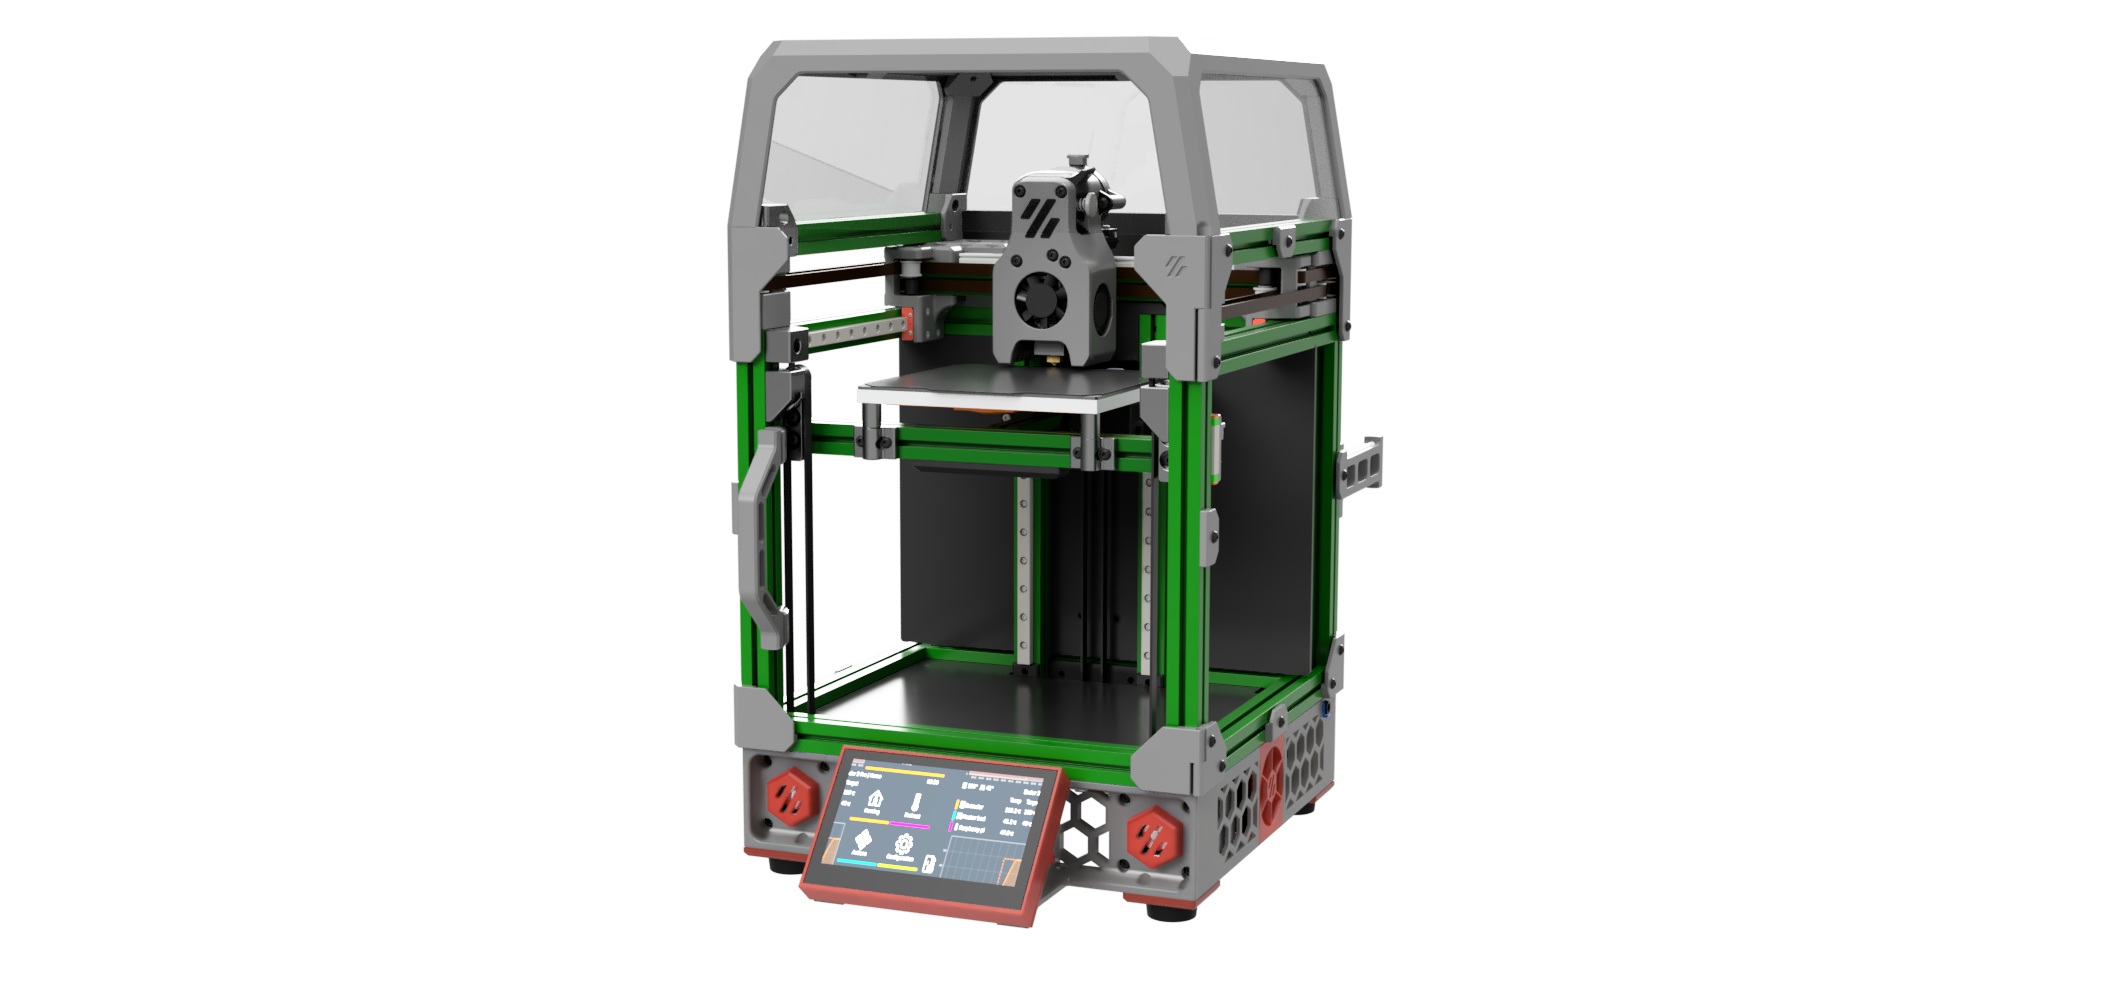
2. Waveshare 4.3" Display
This version is designed for the Waveshare 4.3inch Capacitive Touch Display for Raspberry Pi, DSI Interface The mounts are designed to bolt on the frame and display with original screws from the back. Therefore similar 4.3 inch display might not work without modifications I'm using a 60cm DSI cable to connect the display with a Raspberry PI back on the back of the V0 (a Raspberry Pico mount mod is in preparation)
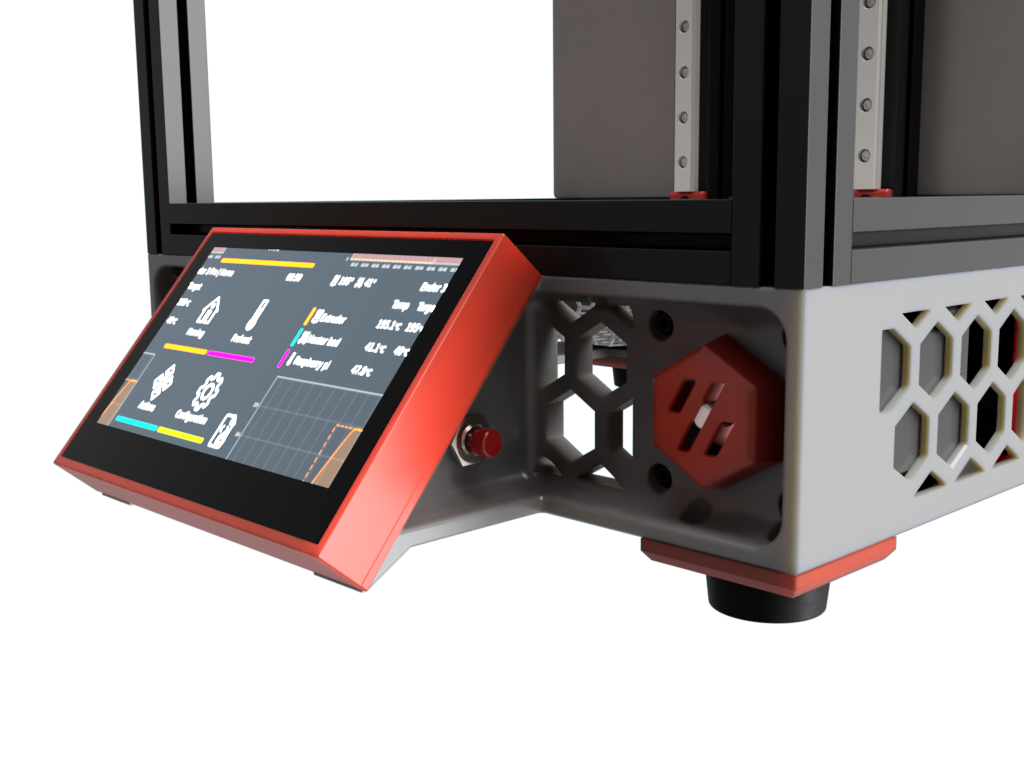
Reset / Emergency switch
The front display mount also provide a mounting option for a reset or emergency switch. I'm using this switch to reset a BTT PSU relays.
The switch in the cad is a standard 7mm momentary switch that is easy to source even from local providers. Make sure to get a Normaly OPEN (NO) switch if you plan to use it with the BTT PSU Relays. (A Relays mount and firmware configs are in preparation)
Printing
This mod is based on my design for the V0 and Double Dragon / Wasp printer. The core design went to many iterations (and spools of filament) to optimize printability and tolerances for keystones, power inlets etc.
I printed the motor corners to check the design but I have not yet built a printer with them. So please provide feedback if you run into issues or confirm the design.
All parts print with standard Voron print setting without any supports. All parts fit on a V0. However, the max out the build volume on the z axis. If you need to print on a V0 make sure that your bed springs are really stiff by adding more tension with washers etc. I had some problems getting nice parts out of the V0 due to the nozzle moving the part due to flex on the bed springs.
BOM Notes
Recommended Nema 17 Motor: https://www.omc-stepperonline.com/de/nema-17-bipolar-1-8deg-26ncm-0-4a-0-4a-12v-42x42x34mm-4-draehte-17hs13-0404s1
Waveshare Display: https://www.waveshare.com/4.3inch-dsi-lcd.htm
Rubber Feet: There are many options. The one in the CAD are these ones here https://de.aliexpress.com/item/1005004478863418.html
7mm Momentary switch: https://de.aliexpress.com/i/32711341102.html
40x20mm fan: https://de.aliexpress.com/item/1005002920453385.html
CAD Notes
The CAD includes all variants in one file. You need to show/hide the version you like to work with
Credits
Thanks to zruncho for all his efforts he puts into the printers for Ants. It's inspiring for a lot of us!